Example Asbestos Removal Projects in Tacoma

Read each one as a short case that runs through the building, what the lab found, what happens next, how many days it takes and about what it would cost. More than a quarter of Tacoma homes were built in 1939 or earlier, so several examples are older houses, along with mid-century homes in University Place and Puyallup.

Nothing here describes a past job, a client or an address. The examples mix Tacoma-area house ages with the standard order of work and current price ranges, to show what a project involves before you ask for a quote.

Old pipe insulation out before finishing a basement

Example project
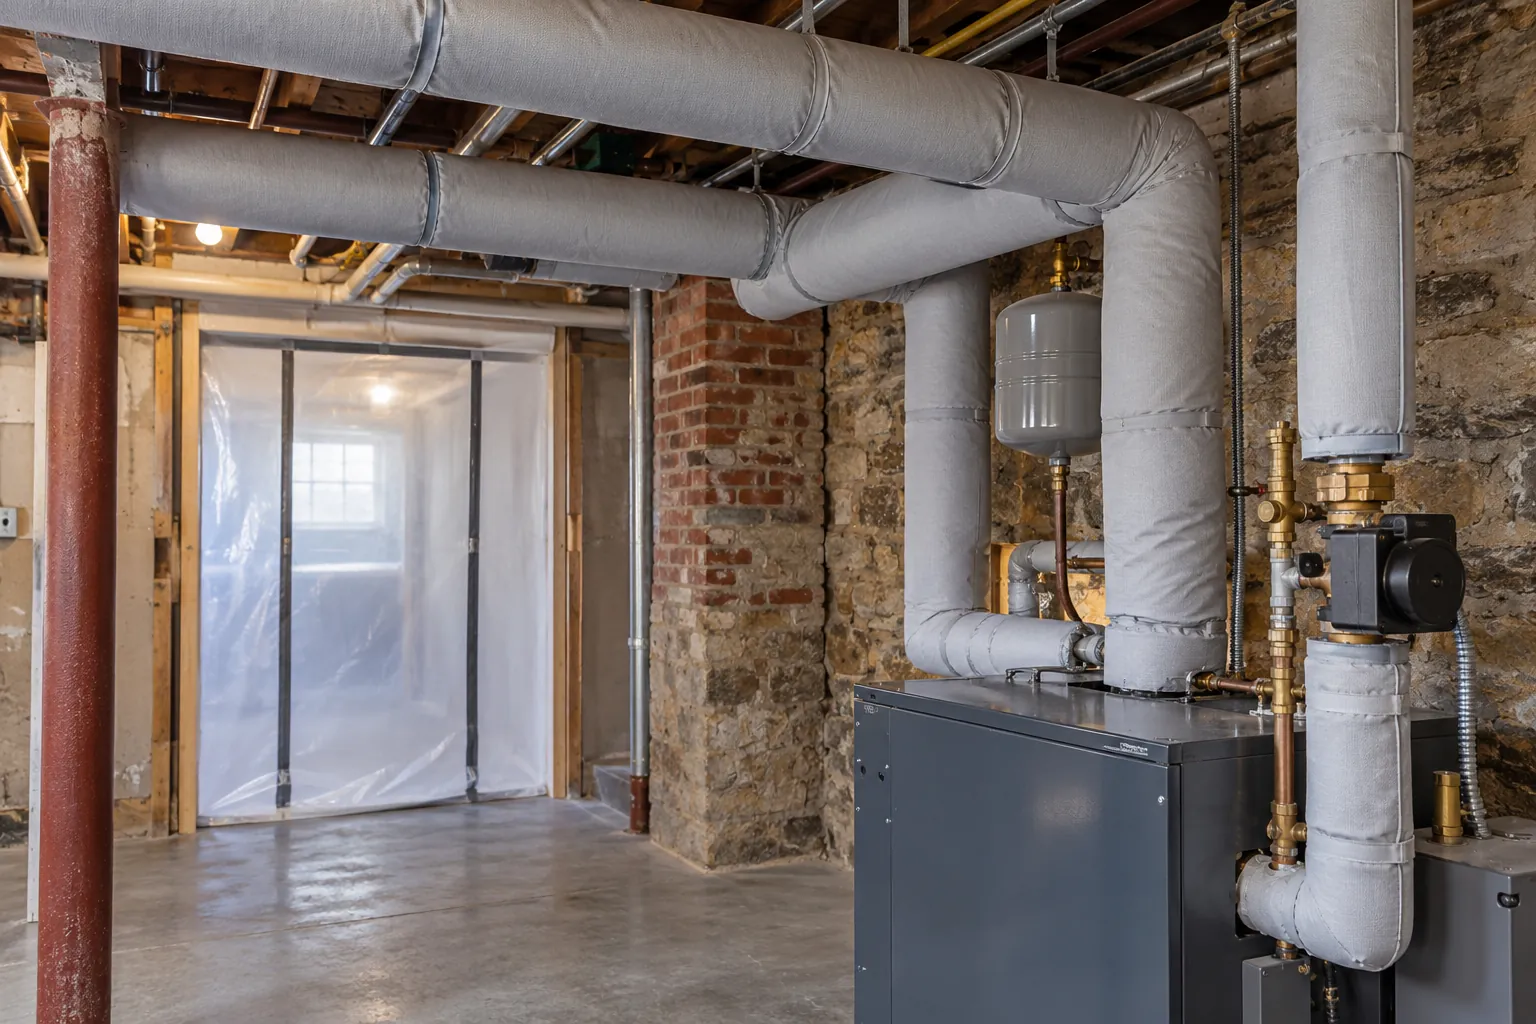
Basement with stone and brick walls, a newer gray boiler, pipes in gray insulation jackets and a plastic zipper door behind
Home
1910s two-story house in Tacoma with a stone and brick foundation and a newer boiler
Original request
Finish part of the basement as a family room
Testing
Lab test of the old pipe covering on the runs away from the boiler found asbestos
Work
About 120 ft of old covering removed; the pipes then get new insulation jackets
Timeline
Three days of removal and an air check, after the notice
Estimated cost
$3,900

Scope of work

A sample of the pipe covering, a notice to the clean air agency, the basement sealed in sections behind a zipper door under negative air, the covering wetted and cut off, fittings done in glove bags, sealed and labeled bags, an air check and disposal at the city landfill. New pipe insulation and the basement finish are extra.

Project overview

In this example, the owners of a 1910s house in Tacoma replaced their boiler years ago, but the heating pipes running across the rest of the basement still have their old white covering. They now want to finish part of the basement, and the covering tests positive.

About 120 ft of pipe covering comes off, one section at a time behind a zipper door with filtered air pulling from the work area. The bare pipes then get new insulation jackets, and the builder starts in a clean basement.

The goal

The goal is a basement with every old pipe covering gone and the pipes re-insulated, ready to be finished.

Process

  1. First visit Sample of the pipe covering; the runs measured and the fittings counted.
  2. Before work Notice filed with the clean air agency.
  3. Days one to three Section by section, covering wetted and removed, fittings in glove bags, bags sealed.
  4. Last day Air check, then the pipes get new insulation jackets.

Planning right

  • Pipe covering is friable, so even a short run over 10 ft needs a notice.
  • Waste from a Tacoma address can go to the city landfill; from other towns it goes elsewhere.
  • Tell the builder which walls hide pipes, so new framing does not trap old covering.
  • Keep the air check result with the permit for the basement finish.

Get a free quoteMore about pipe and boiler insulation removal
Four lab tests during a home purchase

Example project

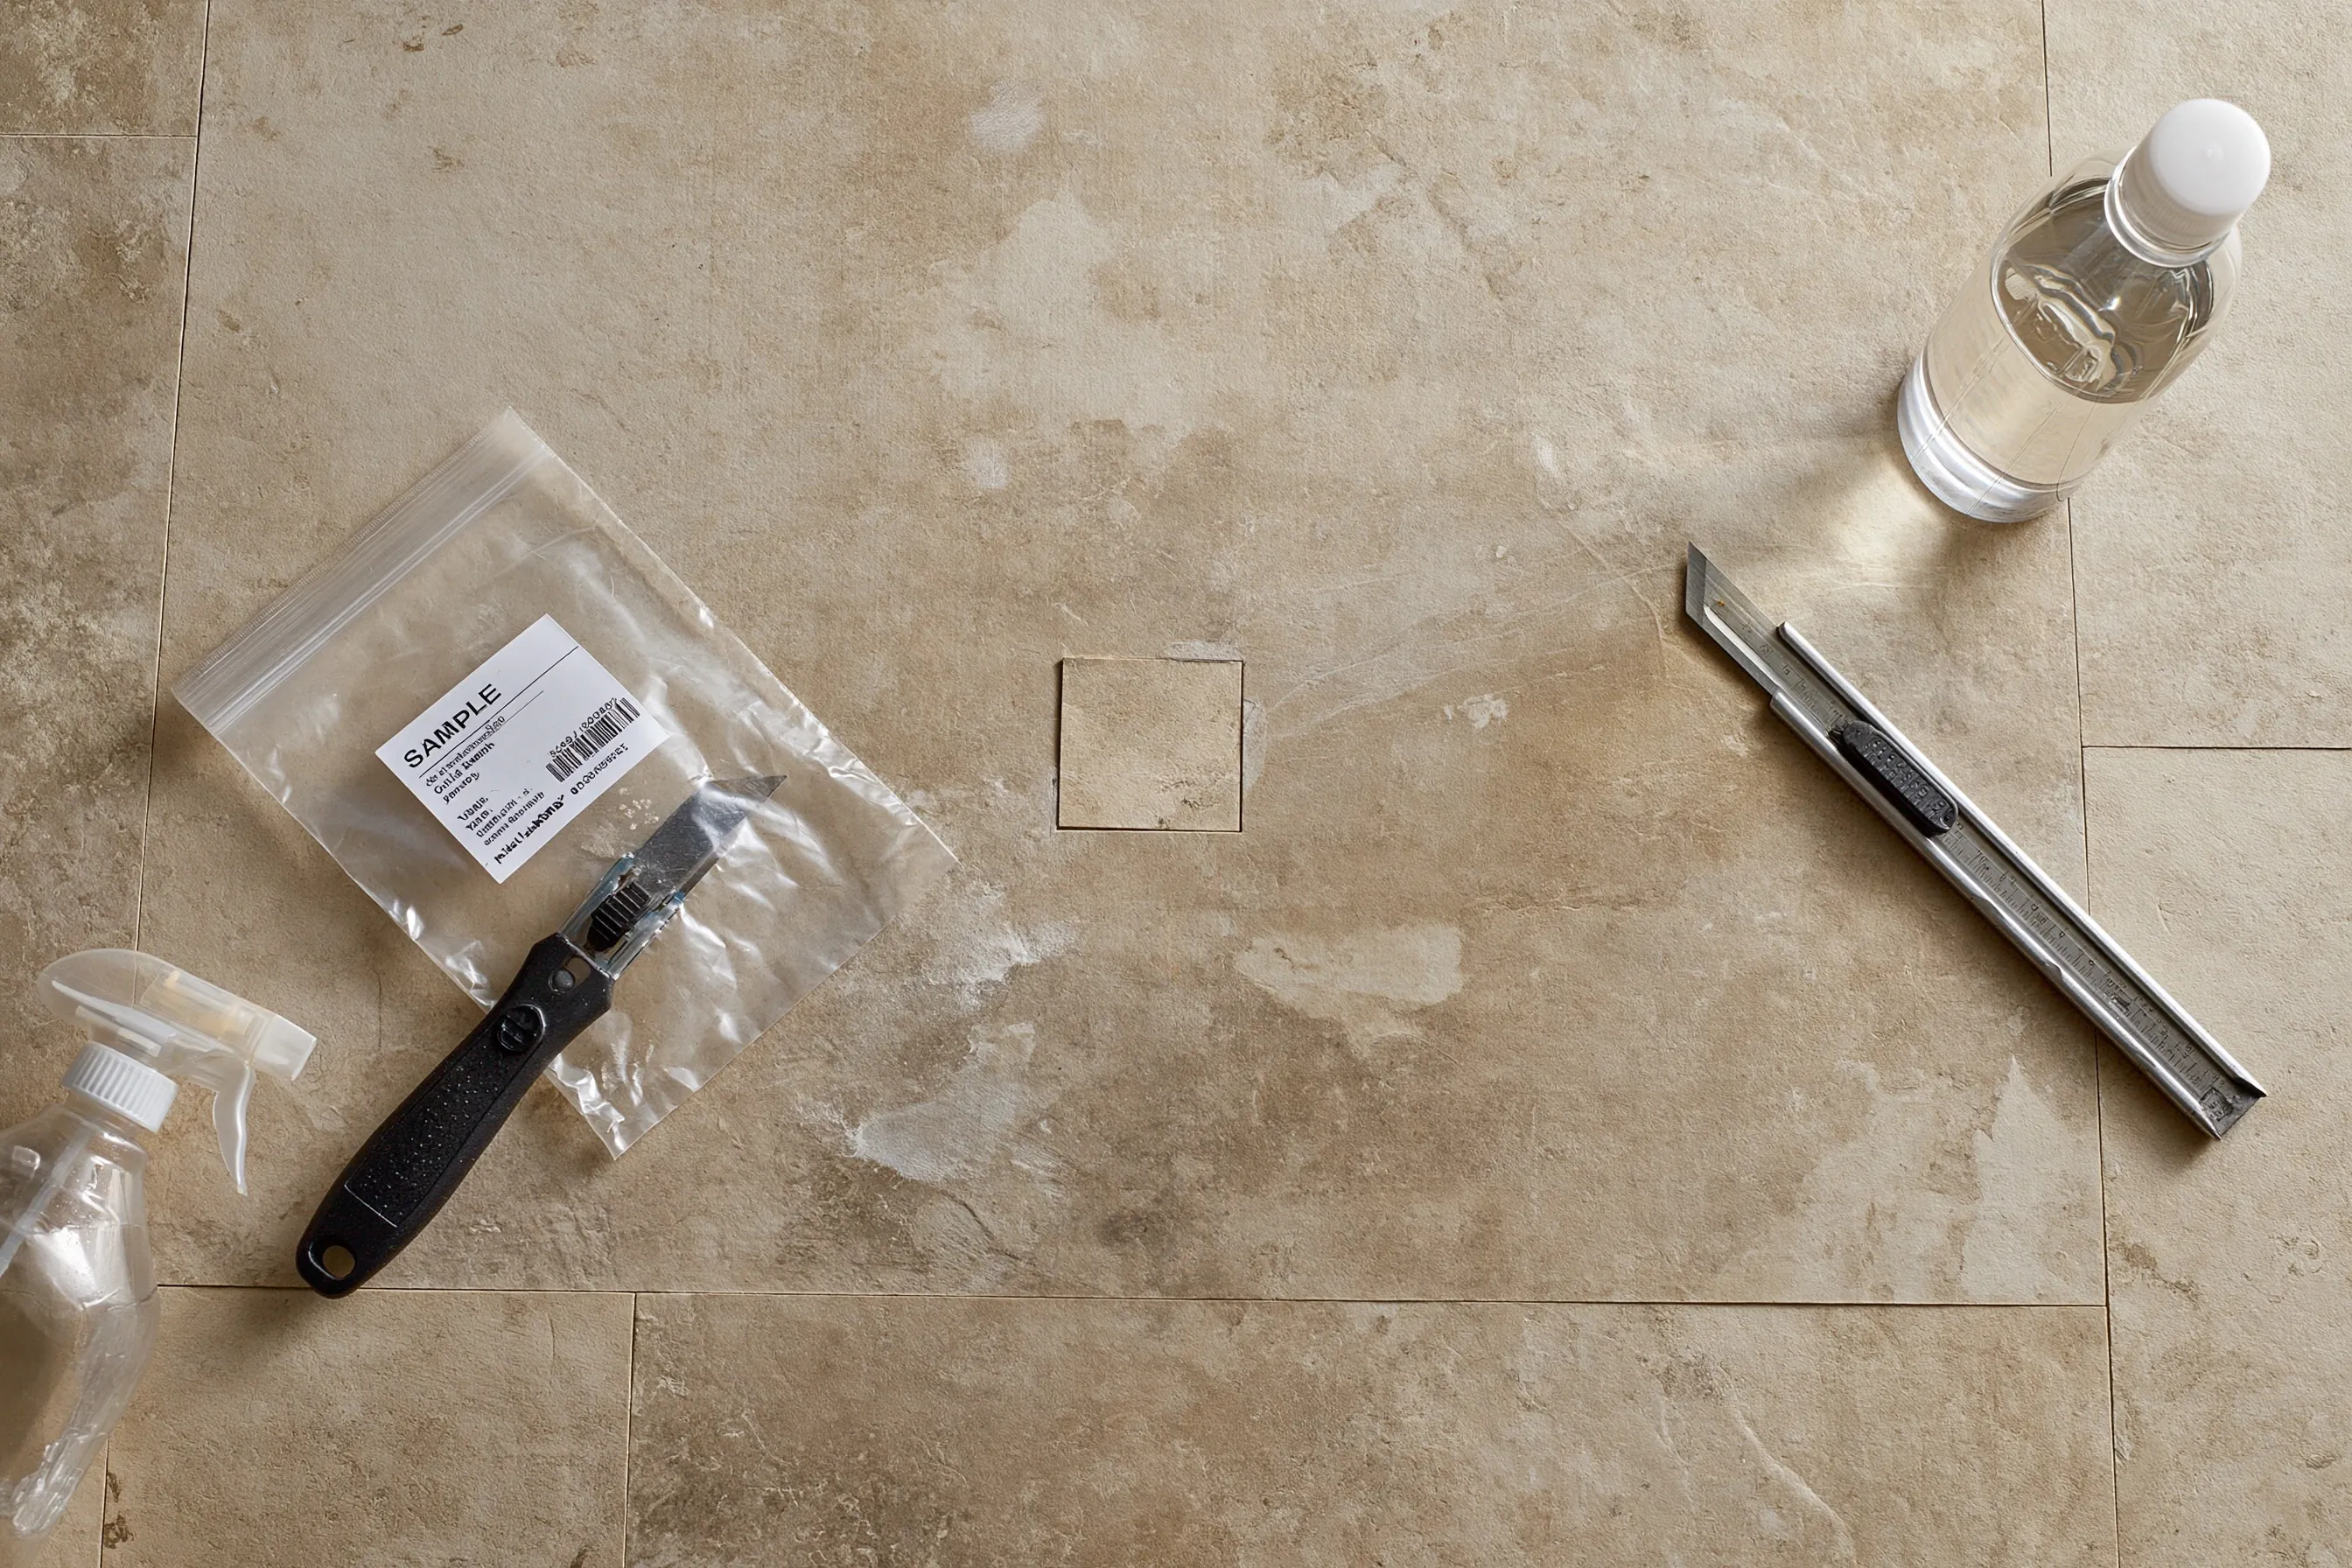
Close view of a beige vinyl tile floor with a square cut out, a labeled sample bag, two knives and two bottles
Home
Tacoma house from the 1970s, one story, with stone-look vinyl tile in the kitchen
Original request
Know about asbestos before the inspection period ends
Testing
Four samples from the kitchen floor tile, the ceiling texture, the duct tape and a wall seam
Found
Asbestos in the kitchen floor tile
Clear
No asbestos in the ceiling texture, duct tape or joint compound
Timeline
One visit with the seller agreeing; lab results in about a day
Estimated testing cost
$450

Scope of work

A visit to take four small samples, each spot wetted and patched, lab fees and a short written report. Removal, if the buyers want it, is priced separately.

Project overview

In this example, buyers under contract on a 1970s house in Tacoma want to know about asbestos before their inspection period ends. With the seller agreeing, four small samples are taken from the materials they would most likely change.

Only the kitchen floor tile is positive. Intact tile can stay under a new floor or come up whole without an agency notice, so the buyers price that one job and decide whether to ask for a credit.

The goal

The goal is lab answers in hand before the deadline, so the buyers know which material needs care and what it costs.

Process

  1. Visit Four spots wetted and sampled, each bag labeled, each hole patched.
  2. Next day Lab results and a short report.
  3. Before the period ends The buyers price the floor and decide what to ask the seller for.

Planning right

  • Book the visit as soon as the contract is signed, and ask the seller first.
  • Four samples answer the big questions. A remodel later may need a full survey.
  • The report stays useful after closing. Keep it with the house papers.
  • Leave the tile alone until you decide. Intact tile is safe where it is.

Get a free quoteMore about asbestos testing and surveys

Plaster wall between two windows opened for framing repair

Example project

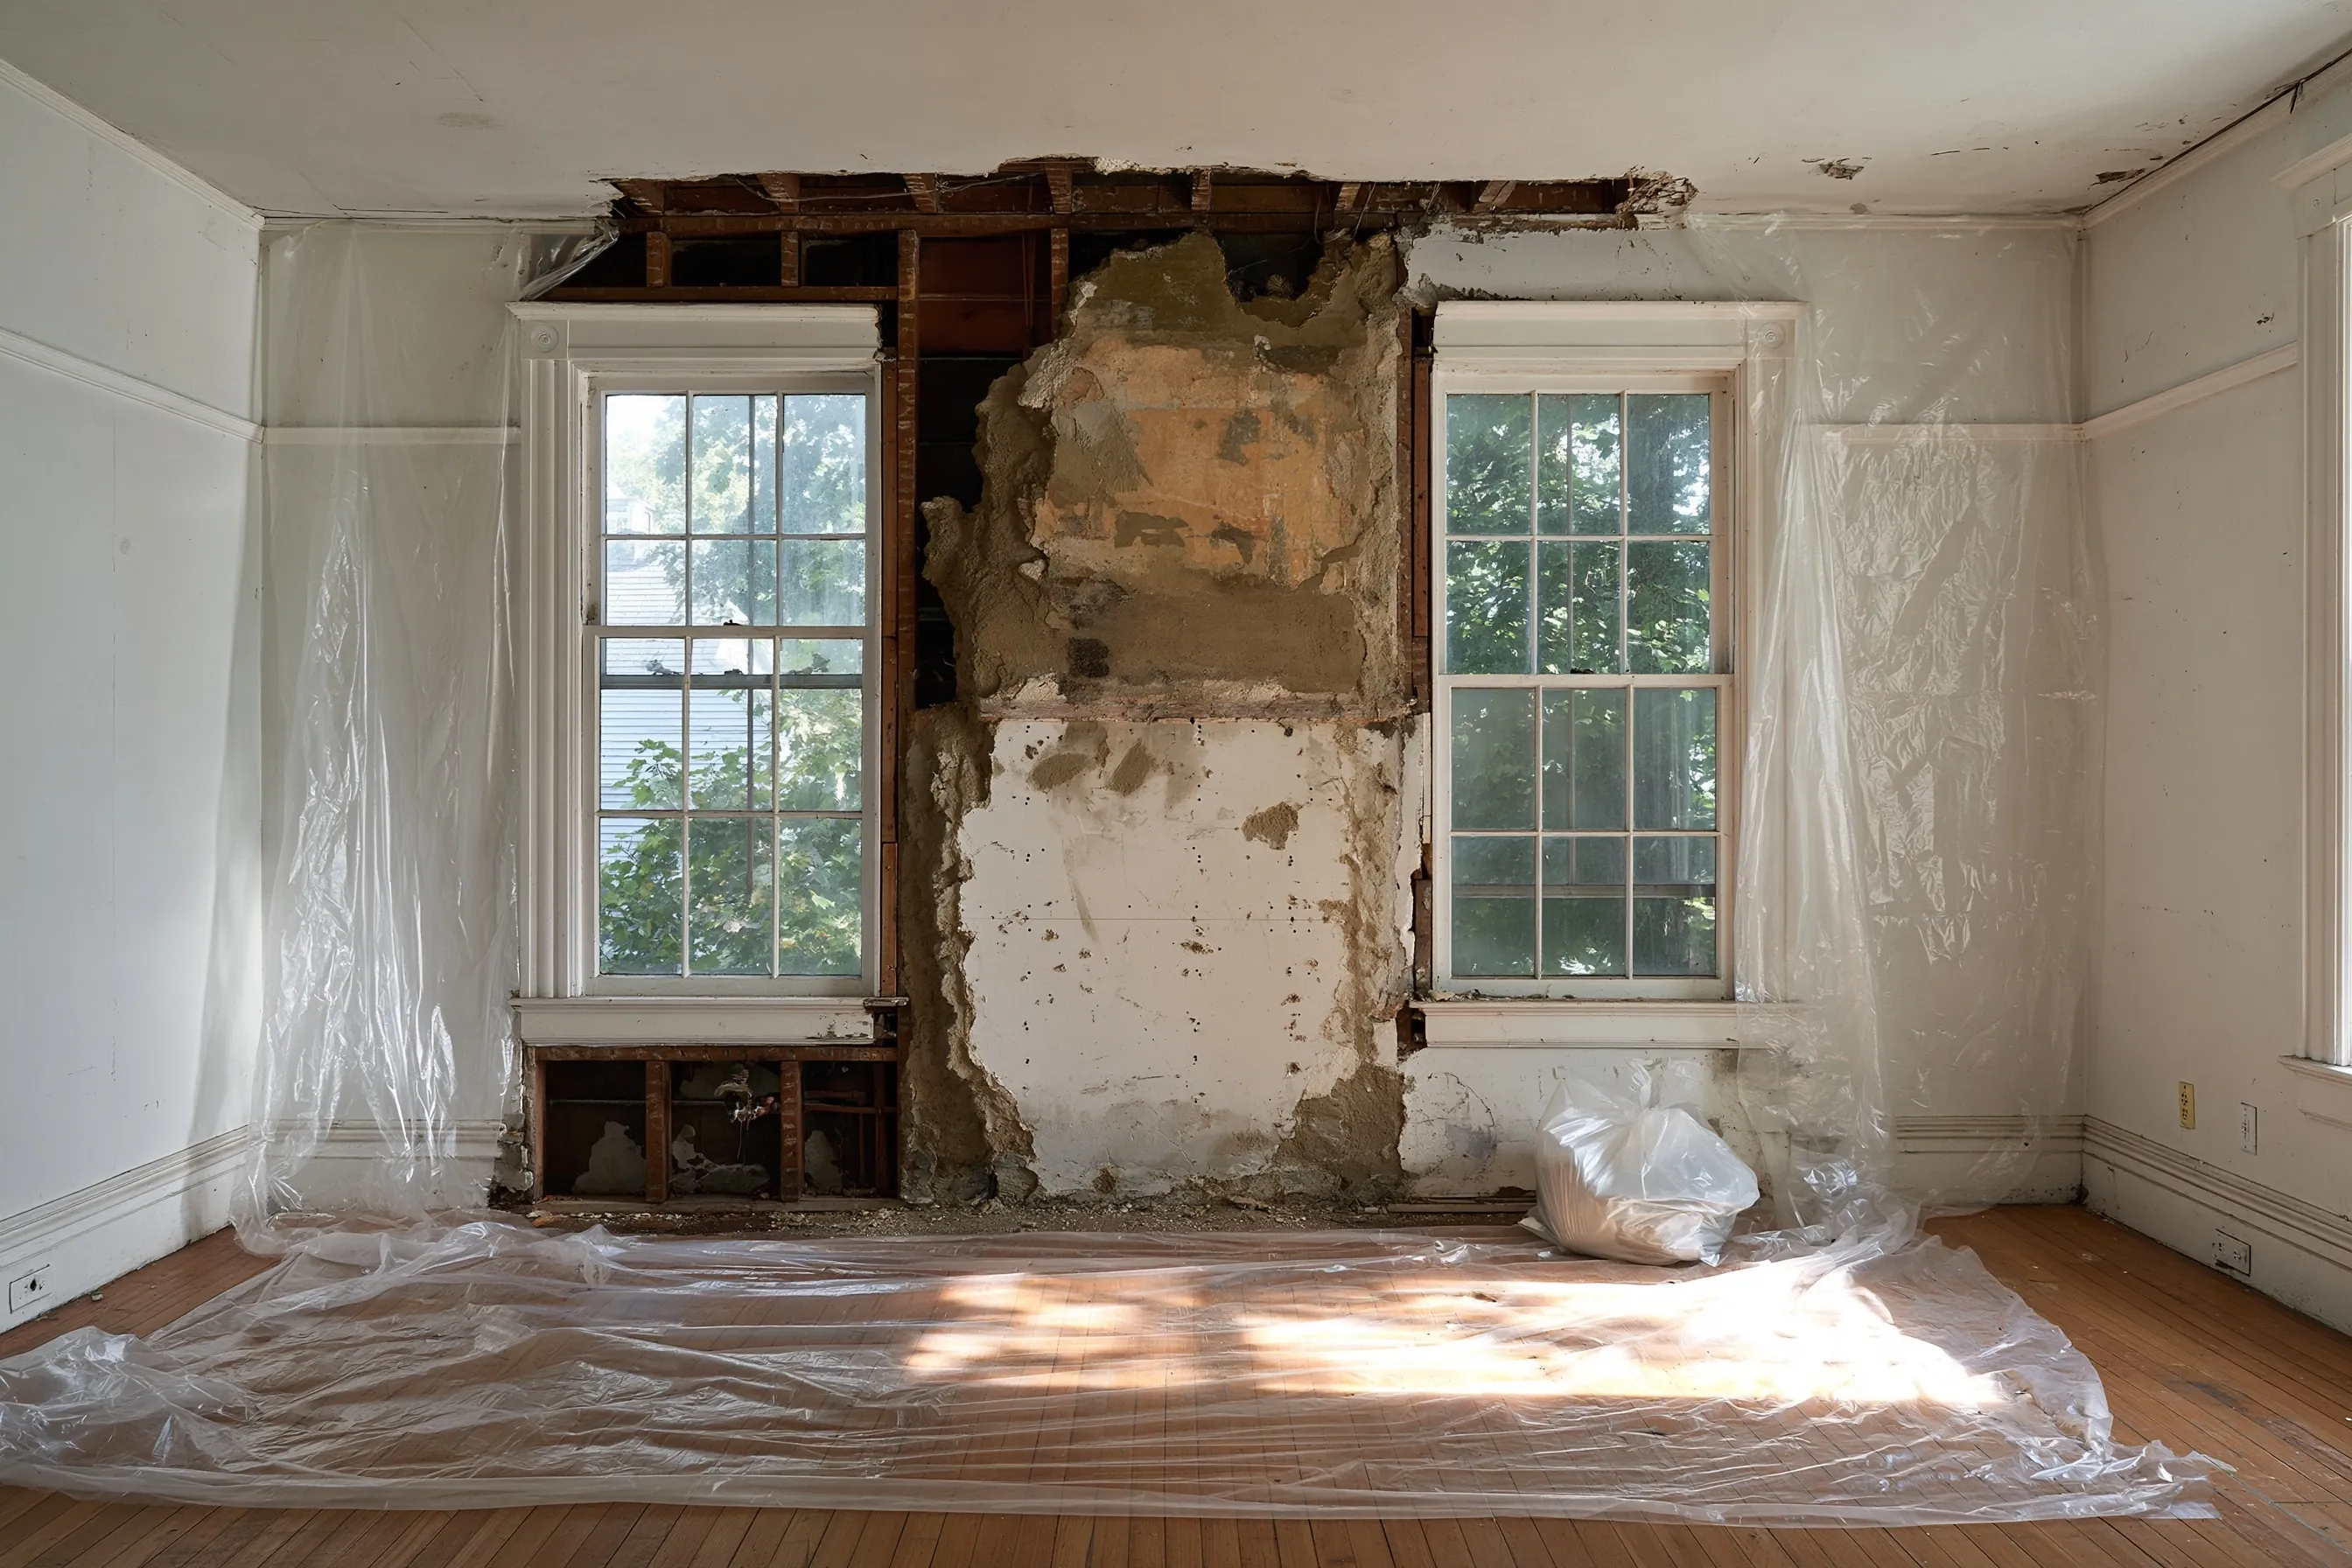
Front room with tall double-hung windows on each side of a section of wall stripped back to lath and studs, with plastic sheeting on the wood floor
Home
1940s house in Tacoma, front room with two tall windows
Original request
Repair rotted framing between the front windows after a long leak
Testing
Plaster and skim coat sampled apart; only the skim coat is positive
Wall
About 60 sq ft between and around the two windows
Work
Plaster taken down to the studs inside plastic, after a notice to the clean air agency
Timeline
Notice, then two days of removal before the carpenter
Estimated cost
$2,600

Scope of work

Plaster and skim coat sampled on their own, a notice to the clean air agency, the floor and other walls covered, the wall misted and pulled down with its lath, sealed bags, a HEPA vacuum and wet wipe, and disposal. The framing repair, new wall and paint are extra.

Project overview

In this example, water has been getting in under the front windows of a 1940s house in Tacoma, and the framing between them is soft. The carpenter needs the wall open. The plaster is clean, but the skim coat on it tests positive.

The 60 sq ft between and around the windows is over the 48 sq ft notice mark, so a notice goes in first. The plaster comes down to the studs inside plastic, and the carpenter starts on bare framing.

The goal

The goal is open, clean framing between the windows for the carpenter, with the asbestos skim coat gone.

Process

  1. First visit Samples of the plaster and the skim coat; the soft area outlined.
  2. Before work Notice filed; furniture moved out of the room.
  3. Day one Plastic up, plaster misted and taken down with the lath, bagged.
  4. Day two Studs vacuumed and wiped, the room checked, plastic folded inward and bagged.

Planning right

  • Fix the leak outside first, so the new wall stays dry.
  • Check the window sills and trim for soft wood before the wall goes back up.
  • Open only what the carpenter needs. The rest of the wall stays sealed under its paint.
  • File the lab report away; it helps with any future work on these walls.

Get a free quoteMore about plaster and drywall removal

Upper-floor popcorn ceilings removed instead of covered over

Example project

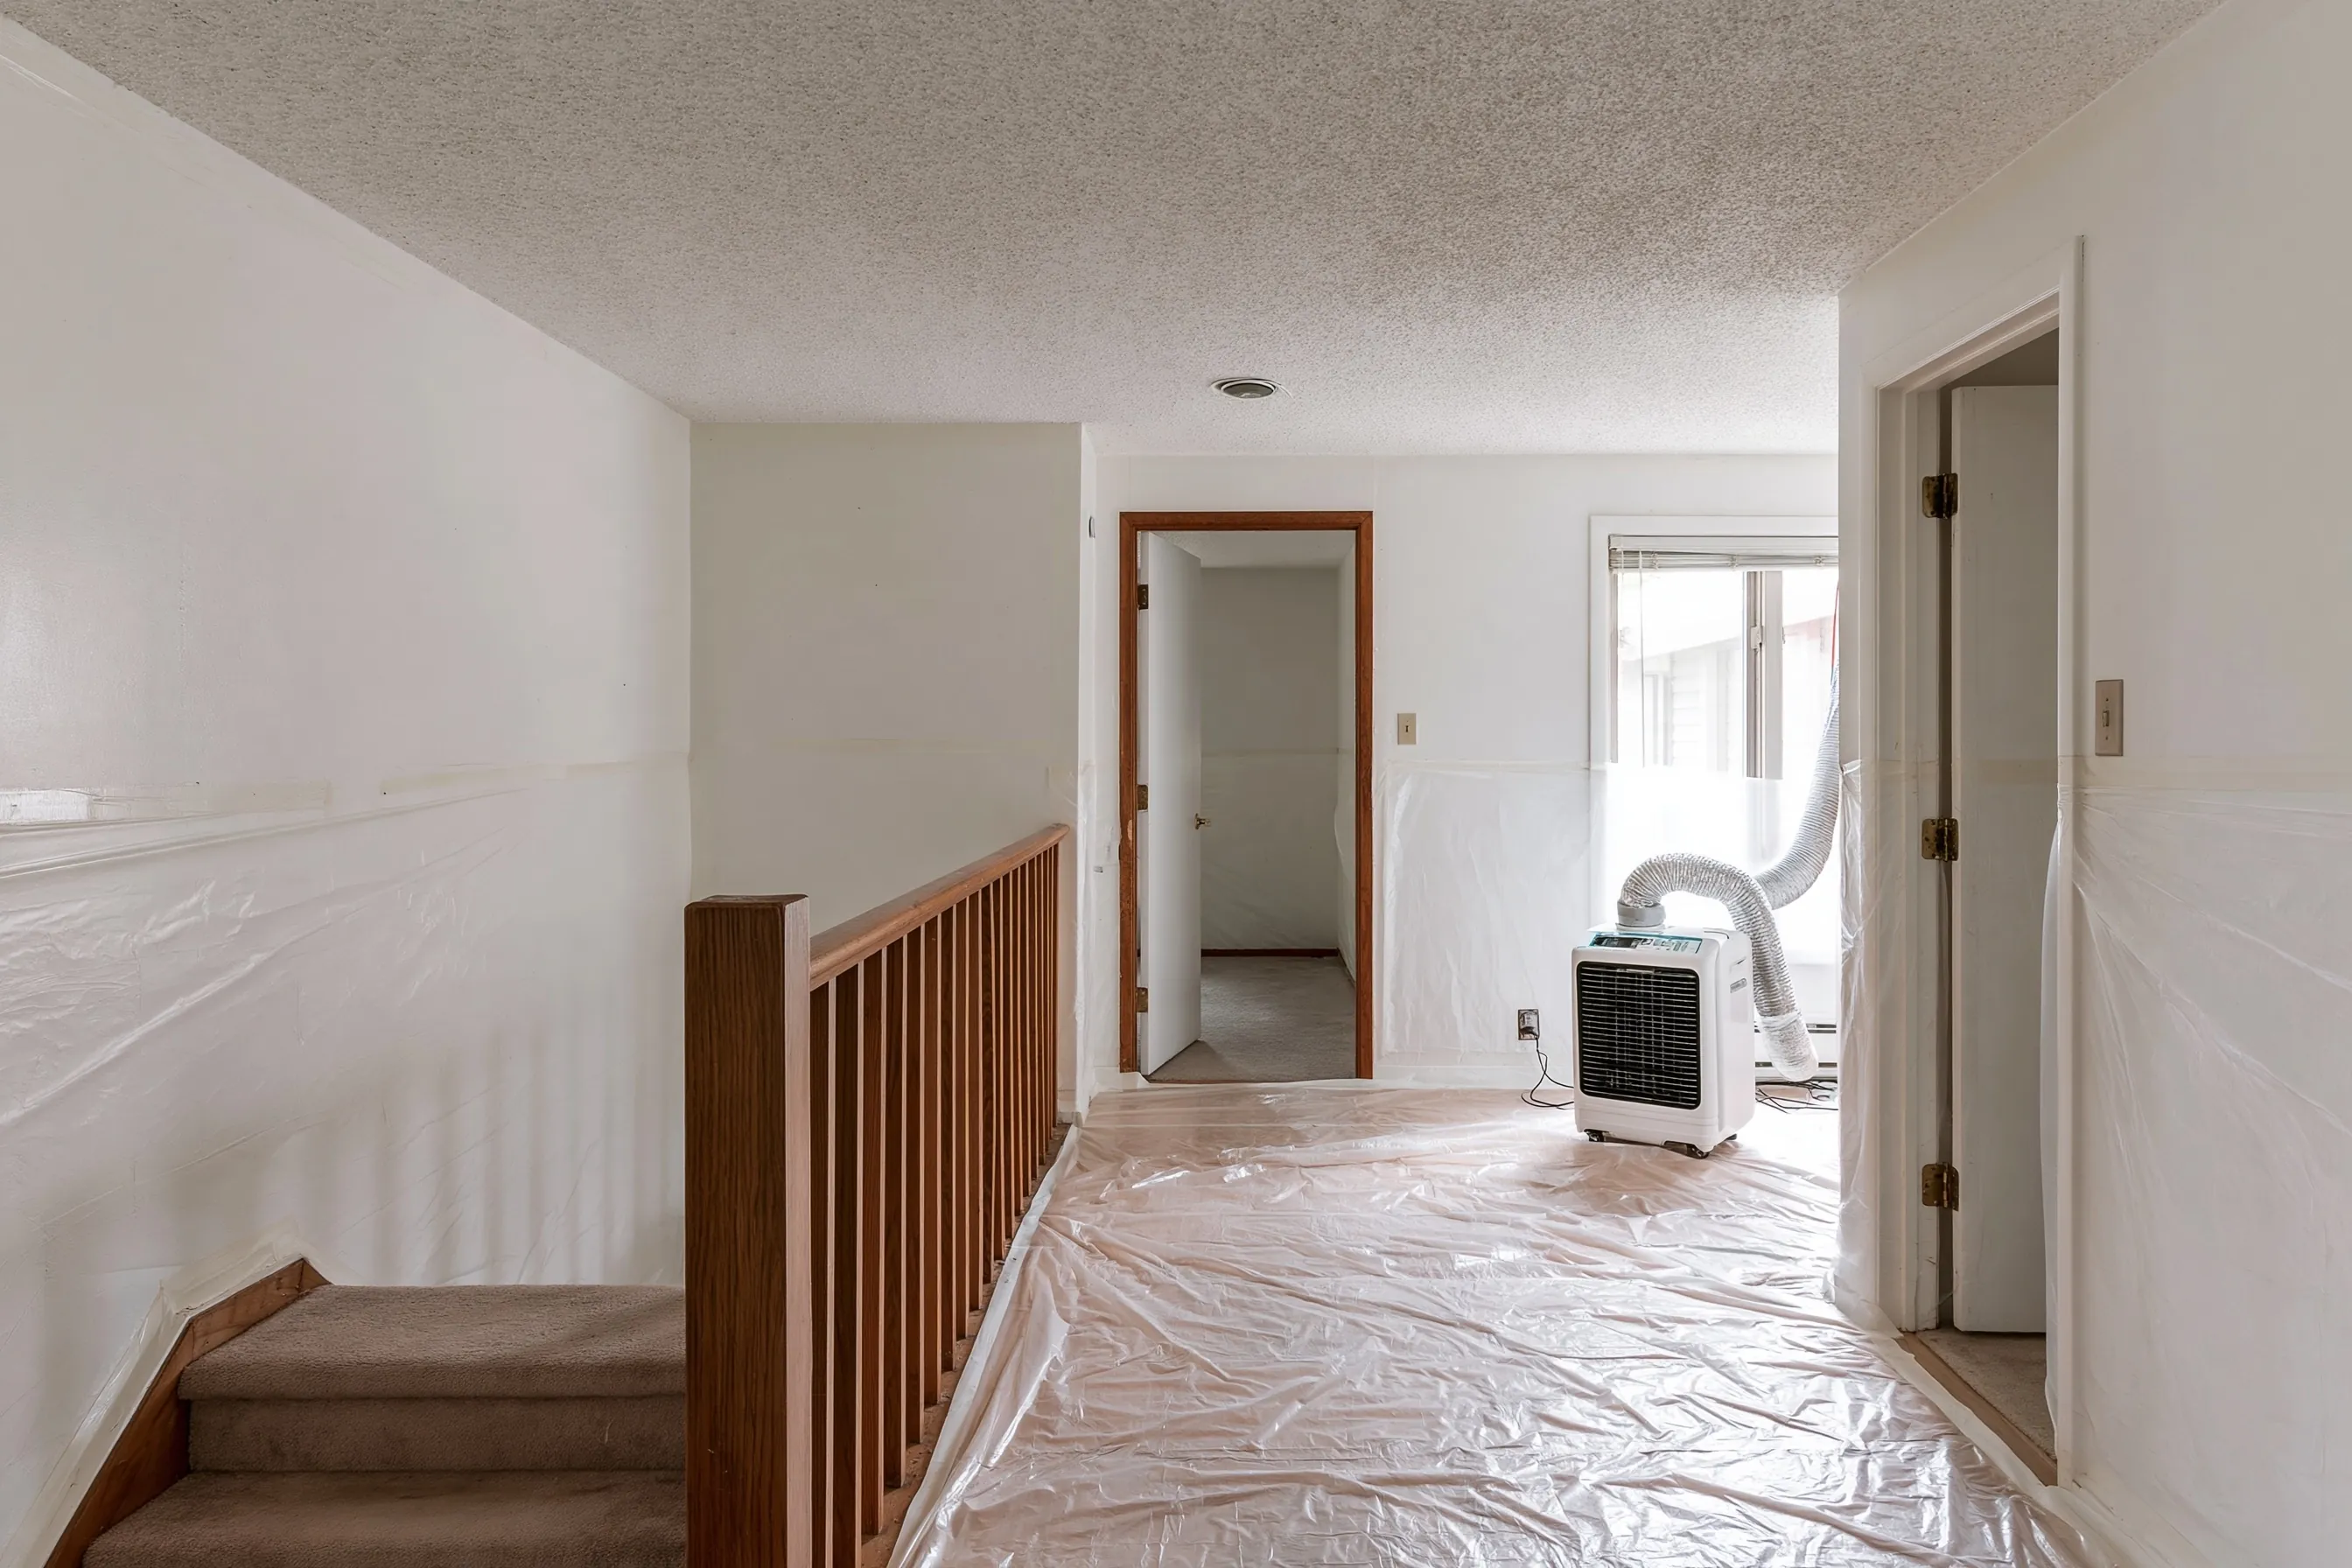
Upper hallway of a split-level with a textured ceiling, plastic on the floor and walls, a filtered air unit vented to a window and the stair rail beside it
Home
1960s split-level house in Tacoma
Original request
Smooth ceilings in the upper-floor hall, bedrooms and bath
Testing
Lab tests of the texture in three rooms found asbestos
Choice
New drywall over the texture, or removal; the owners choose removal
Area
About 850 sq ft of ceiling
Work
One sealed room at a time, after the agency notice
Timeline
Notice, then about four days of work
Estimated cost
$8,800

Scope of work

Lab tests of the texture, a notice to the clean air agency, rooms sealed with plastic and a filtered air unit vented out a window, the texture misted and scraped off, sealed bags, a HEPA vacuum and wet wipe, and disposal. A skim coat and paint are extra.

Project overview

In this example, the owners of a 1960s split level in Tacoma want smooth ceilings upstairs. Their drywall contractor offers to screw new board over the texture, which tests positive.

Covering would leave the asbestos above the new board, to be found again by the next person who cuts in a light or a vent. The owners choose removal now, one sealed room at a time, with the stair closed off below.

The goal

The goal is bare ceilings across the upper floor with no asbestos left above them, ready for a skim coat.

Process

  1. First visit Samples from three rooms; the cover and removal options priced side by side.
  2. Before work Notice filed; upstairs rooms emptied or furniture wrapped.
  3. Days one to three Rooms sealed in turn; texture misted, scraped and sealed in bags.
  4. Last day Final clean, plastic down, ready for the skim coat.

Planning right

  • Covering asbestos texture is allowed, but it stays in the house, and a later buyer will ask about it.
  • Recessed lights, fans and vents planned for later are easier to add once the texture is gone.
  • A skim coat over the bare ceiling gives the smoothest finish.
  • Ceilings on the lower floor can be tested now and done later.

Get a free quoteMore about popcorn ceiling removal

Old tile off a rental bedroom between tenants

Example project

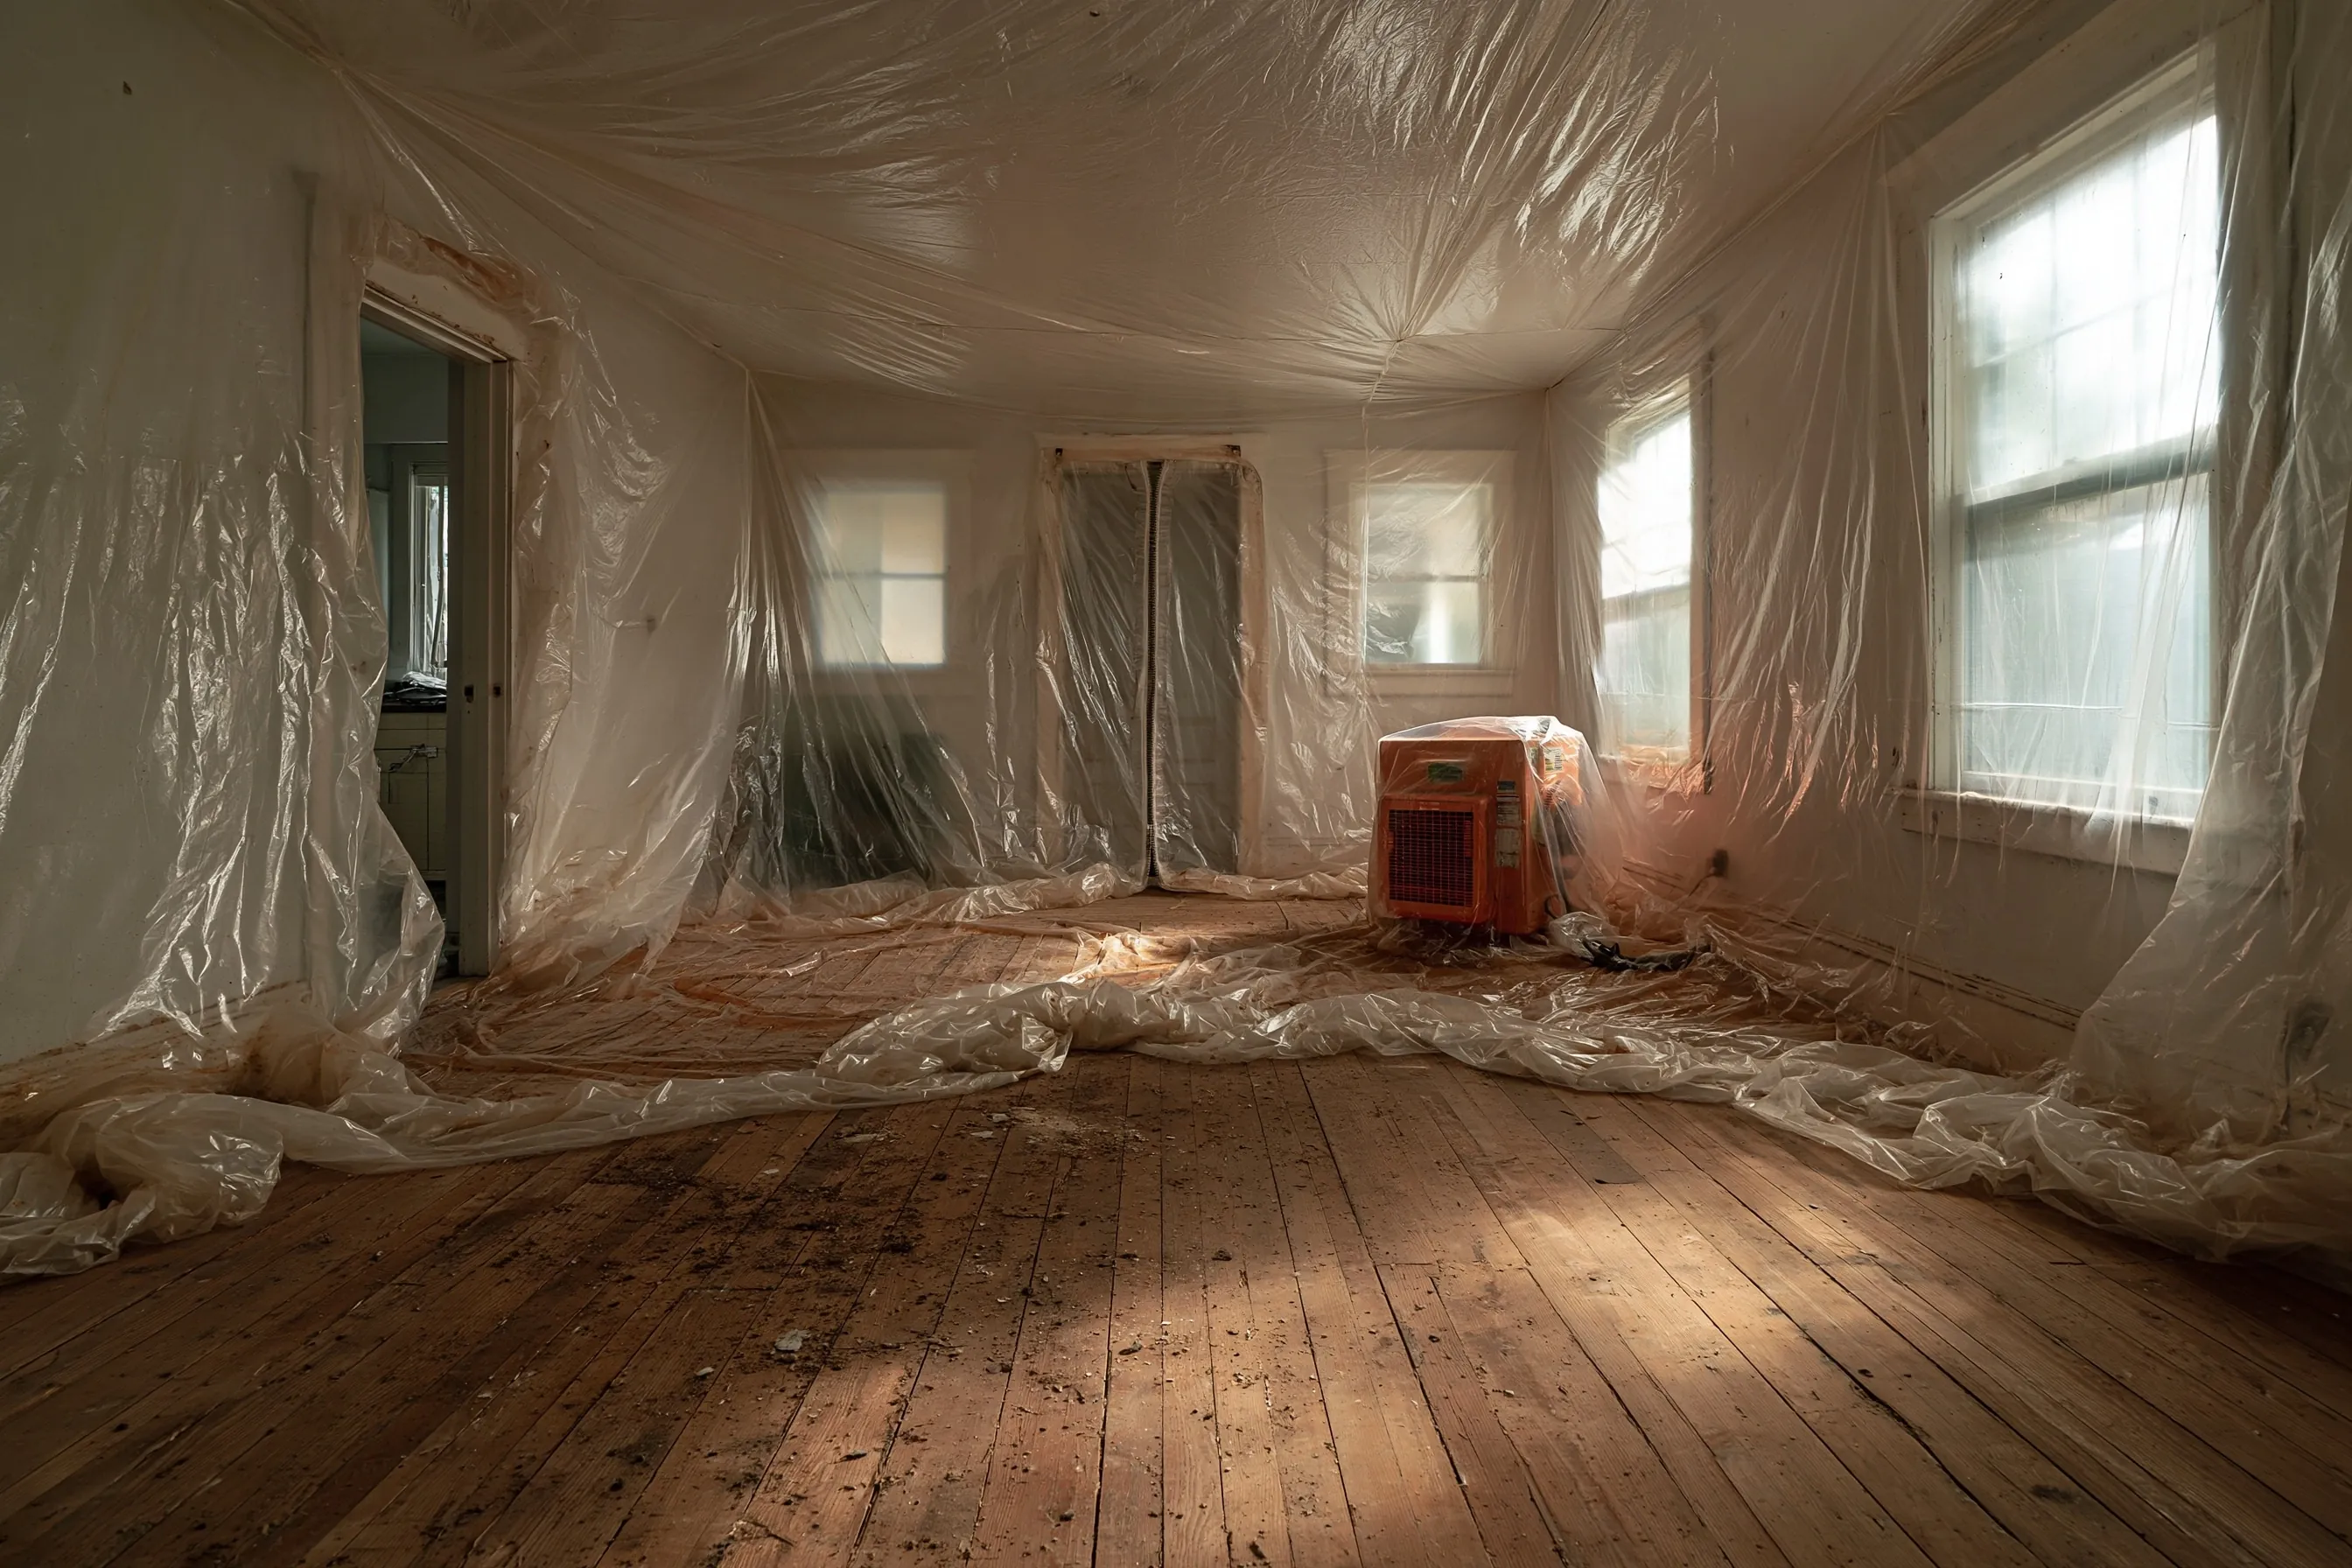
Bedroom with walls, ceiling and windows sealed in plastic, a filtered air unit and a bare wood plank floor with dark marks
Home
1950s single-story house in University Place, rented out
Original request
Refinish the wood floor in the back bedroom between tenants
Testing
Tile and the black glue under the carpet sampled, both positive
Room
Back bedroom with four windows, about 220 sq ft, wood plank floor under the tile
Work
Tile lifted whole, adhesive scraped wet, by a certified crew
Timeline
Two days, in the gap between tenants
Estimated cost
$3,100

Scope of work

Separate samples of the tile and the adhesive, the room sealed with plastic and a filtered air unit, the tiles lifted whole by hand, the adhesive scraped off the planks wet, sealed and labeled bags, a HEPA vacuum and disposal. Sanding and refinishing the planks are extra.

Project overview

In this example, the landlord of a 1950s house in University Place pulls up the carpet in the back bedroom between tenants and finds 9-inch tile glued to the wood planks. Both materials contain asbestos.

A rental has no owner-occupant option, so a certified crew does the work. Intact tile lifted whole needs no agency notice, but the room is still sealed with plastic and filtered air, because scraping adhesive off planks makes dust. The floor sander comes in once the planks are clean.

The goal

The goal is bare, clean planks ready to refinish, with the rental back on the market on time.

Process

  1. First visit One sample of tile, one of the glue, both to the lab.
  2. Day one Room sealed, filtered air unit started, tiles lifted whole and bagged.
  3. Day two Glue scraped from the planks wet; planks vacuumed and looked over.
  4. Then The planks are sanded and refinished before the next tenant moves in.

Planning right

  • Never sand a floor until any old adhesive is tested and gone.
  • Rentals need a certified contractor. The owner-occupant shortcut does not apply.
  • Waste from University Place cannot go to the Tacoma city landfill.
  • Tell the next tenant what was done. Keep the report with the lease file.

Get a free quoteMore about floor tile and sheet vinyl removal

Attic vermiculite and pipe wrap out before an older house is torn down

Example project

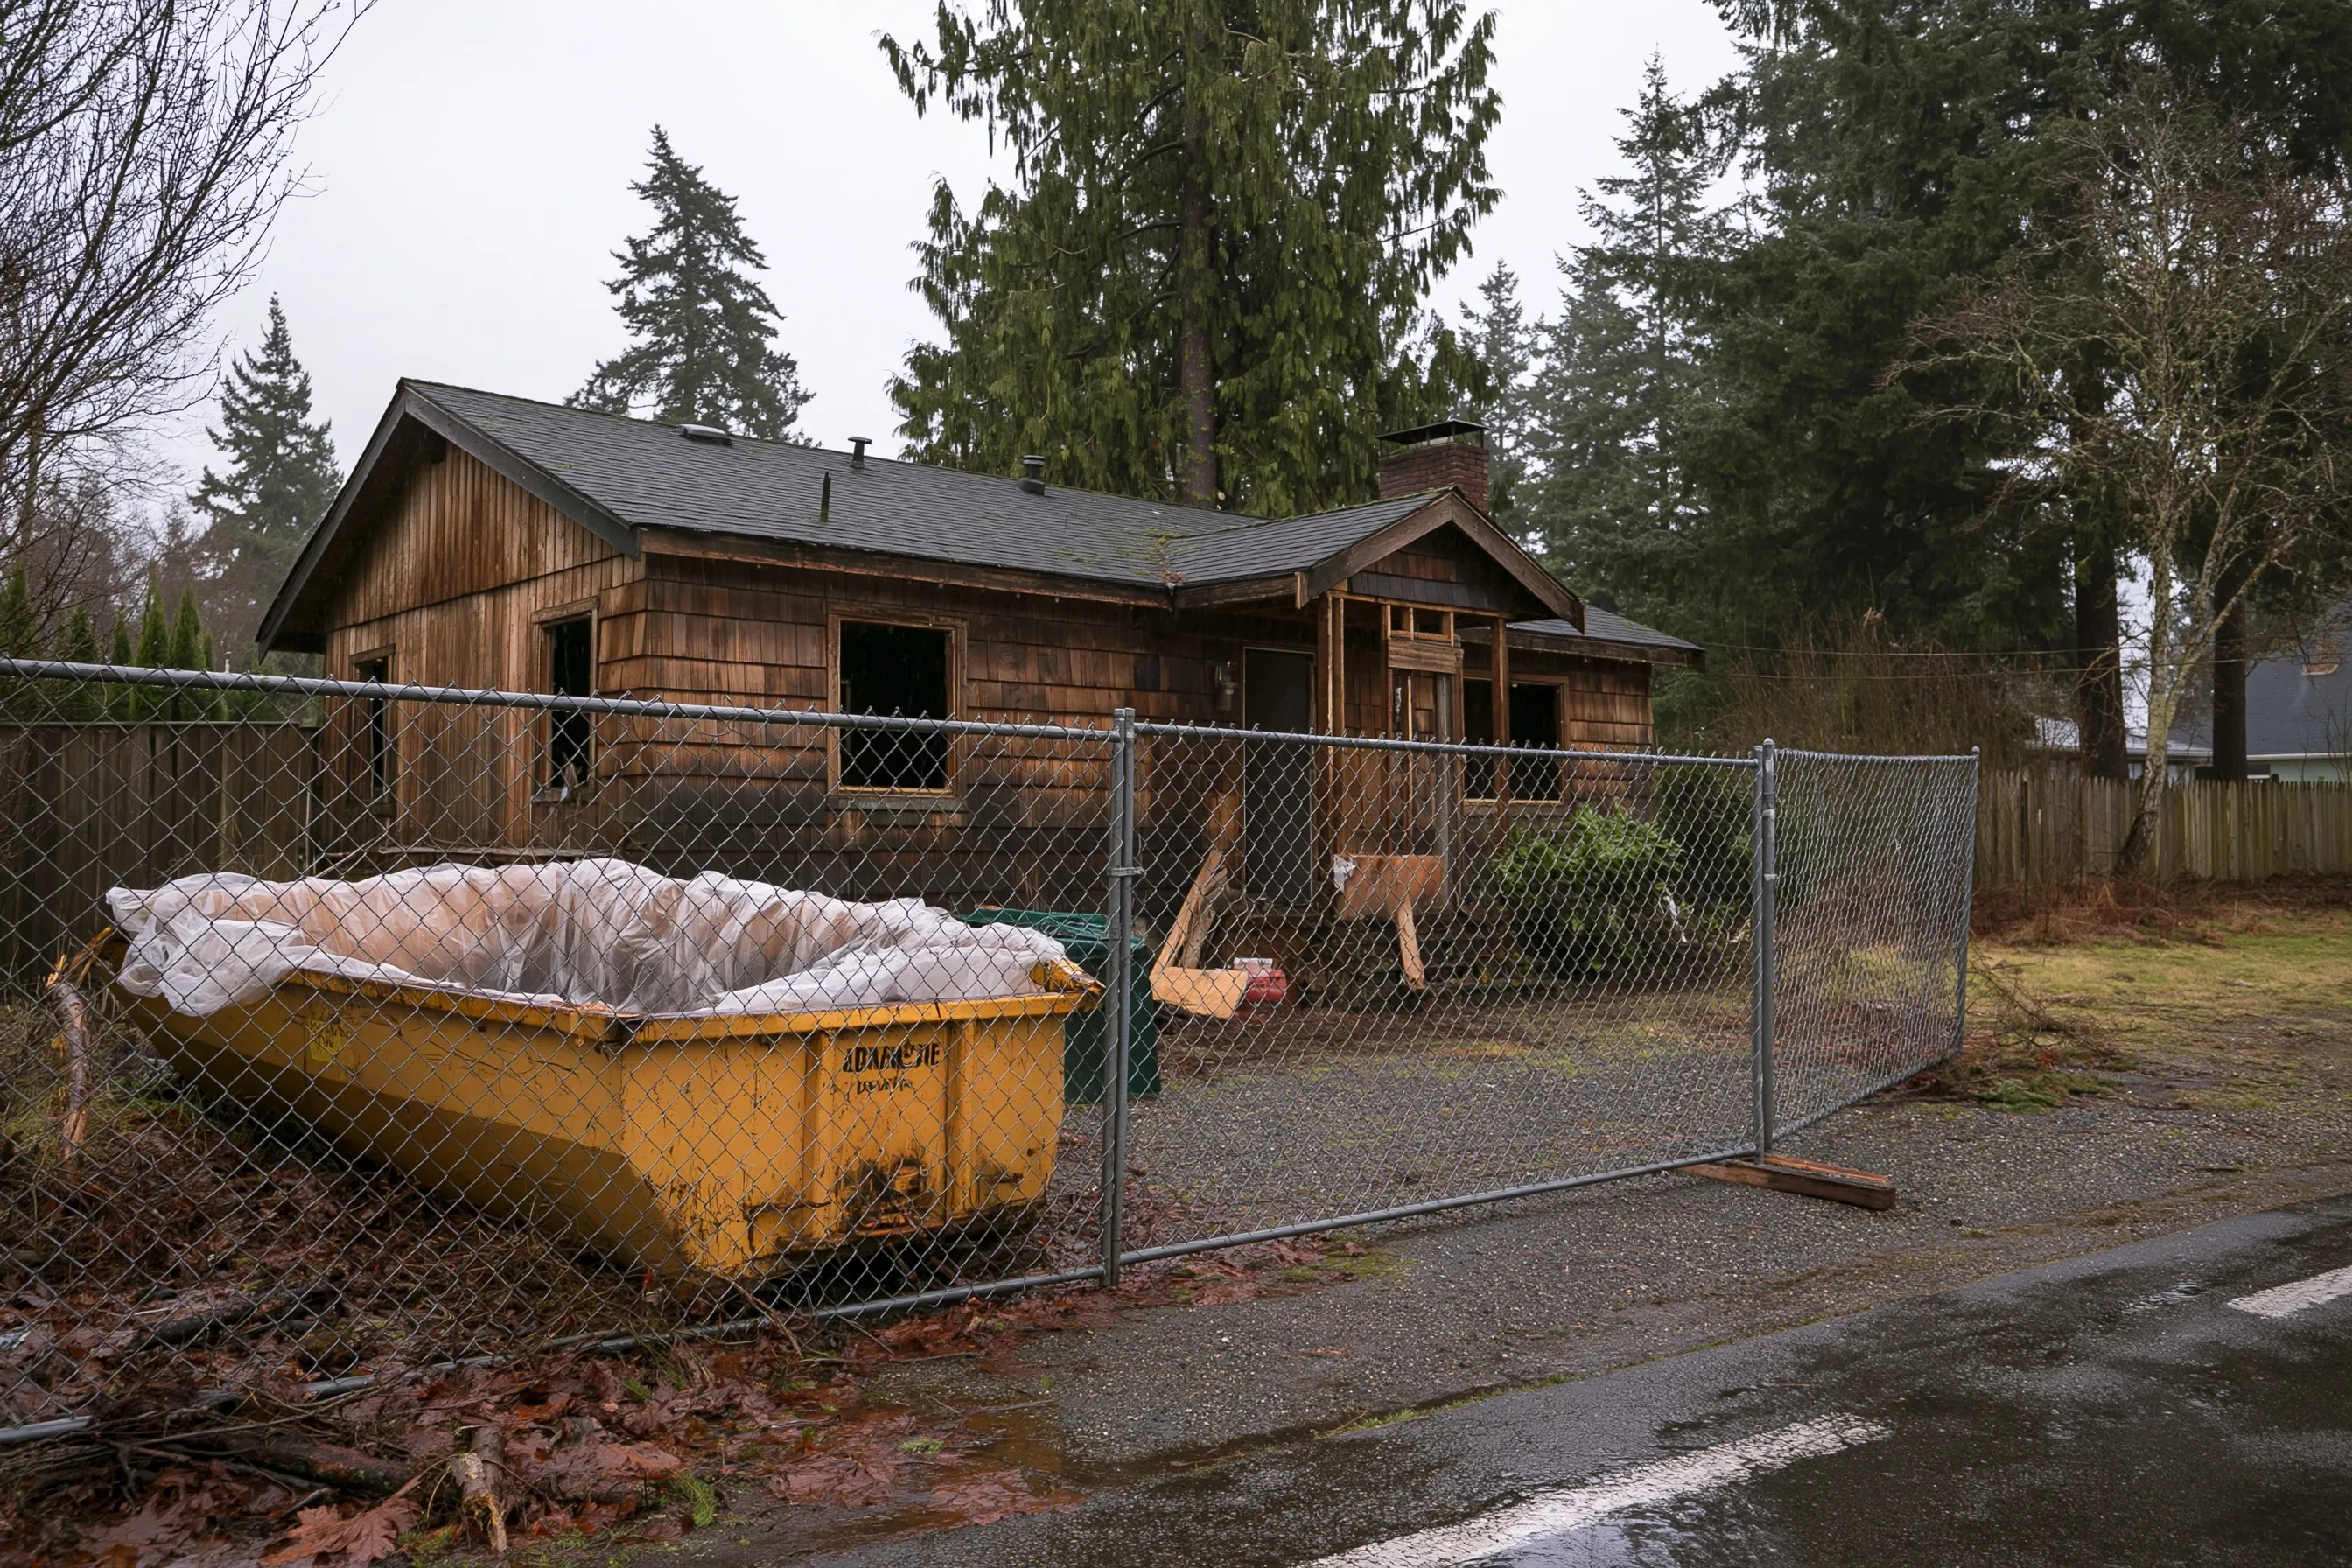
Single-story house with cedar shingle siding and a brick chimney behind a construction fence, with a covered yellow bin
Home
1940s single-story house in Puyallup with cedar shingle siding and a brick chimney
Original request
Tear the house down to build a new home
Testing
Survey of the whole house by an accredited inspector
Found
Vermiculite over the attic floor and wrap on the heating pipes in the crawl space
Clear
No asbestos in the ceilings, floors, cedar siding or roofing
Timeline
Survey, removal notice and demolition notice with its 10-day wait, then about four days of removal
Estimated cost
$12,500

Scope of work

Removal of every positive material before demolition, about 800 sq ft of attic vermiculite and about 60 ft of pipe wrap, with a sealed attic hatch and crawl-space access, vacuuming of the attic, sealed and labeled bags, an air check, and the haul to the Pierce County transfer station. The inspection and the wrecking work are not included.

Project overview

In this example, the owner of a 1940s house in Puyallup plans to tear it down and build new. Before a demolition, the whole structure must be surveyed by an accredited inspector, and any asbestos found has to come out before the wrecking crew starts.

The rooms themselves are clear. The asbestos is out of sight, in the vermiculite poured over the attic floor and in the wrap on the old heating pipes under the house. Both come out first, and the demolition notice runs its 10-day wait at the same time.

The goal

The goal is a house with its hidden asbestos removed, so the demolition can start on the permit date.

Process

  1. Week one Survey of the house, attic and crawl space; lab results and a written report.
  2. Next Both notices go in, and the 10-day clock starts.
  3. Removal days Vermiculite vacuumed out of the attic, pipe wrap removed wet in the crawl space.
  4. Last day Air check, waste hauled, and the site handed to the demolition crew.

Planning right

  • Puyallup issues its own demolition permits. Check whether the lot is inside city limits.
  • Attics and crawl spaces are part of a demolition survey, not just the rooms.
  • Keep the survey and the notice printed on site until the lot is cleared.
  • Friable waste must reach the disposal site within 10 days of removal.

Get a free quoteMore about pre-demolition abatement

Survey of an apartment building before new siding, windows and walkways

Example project

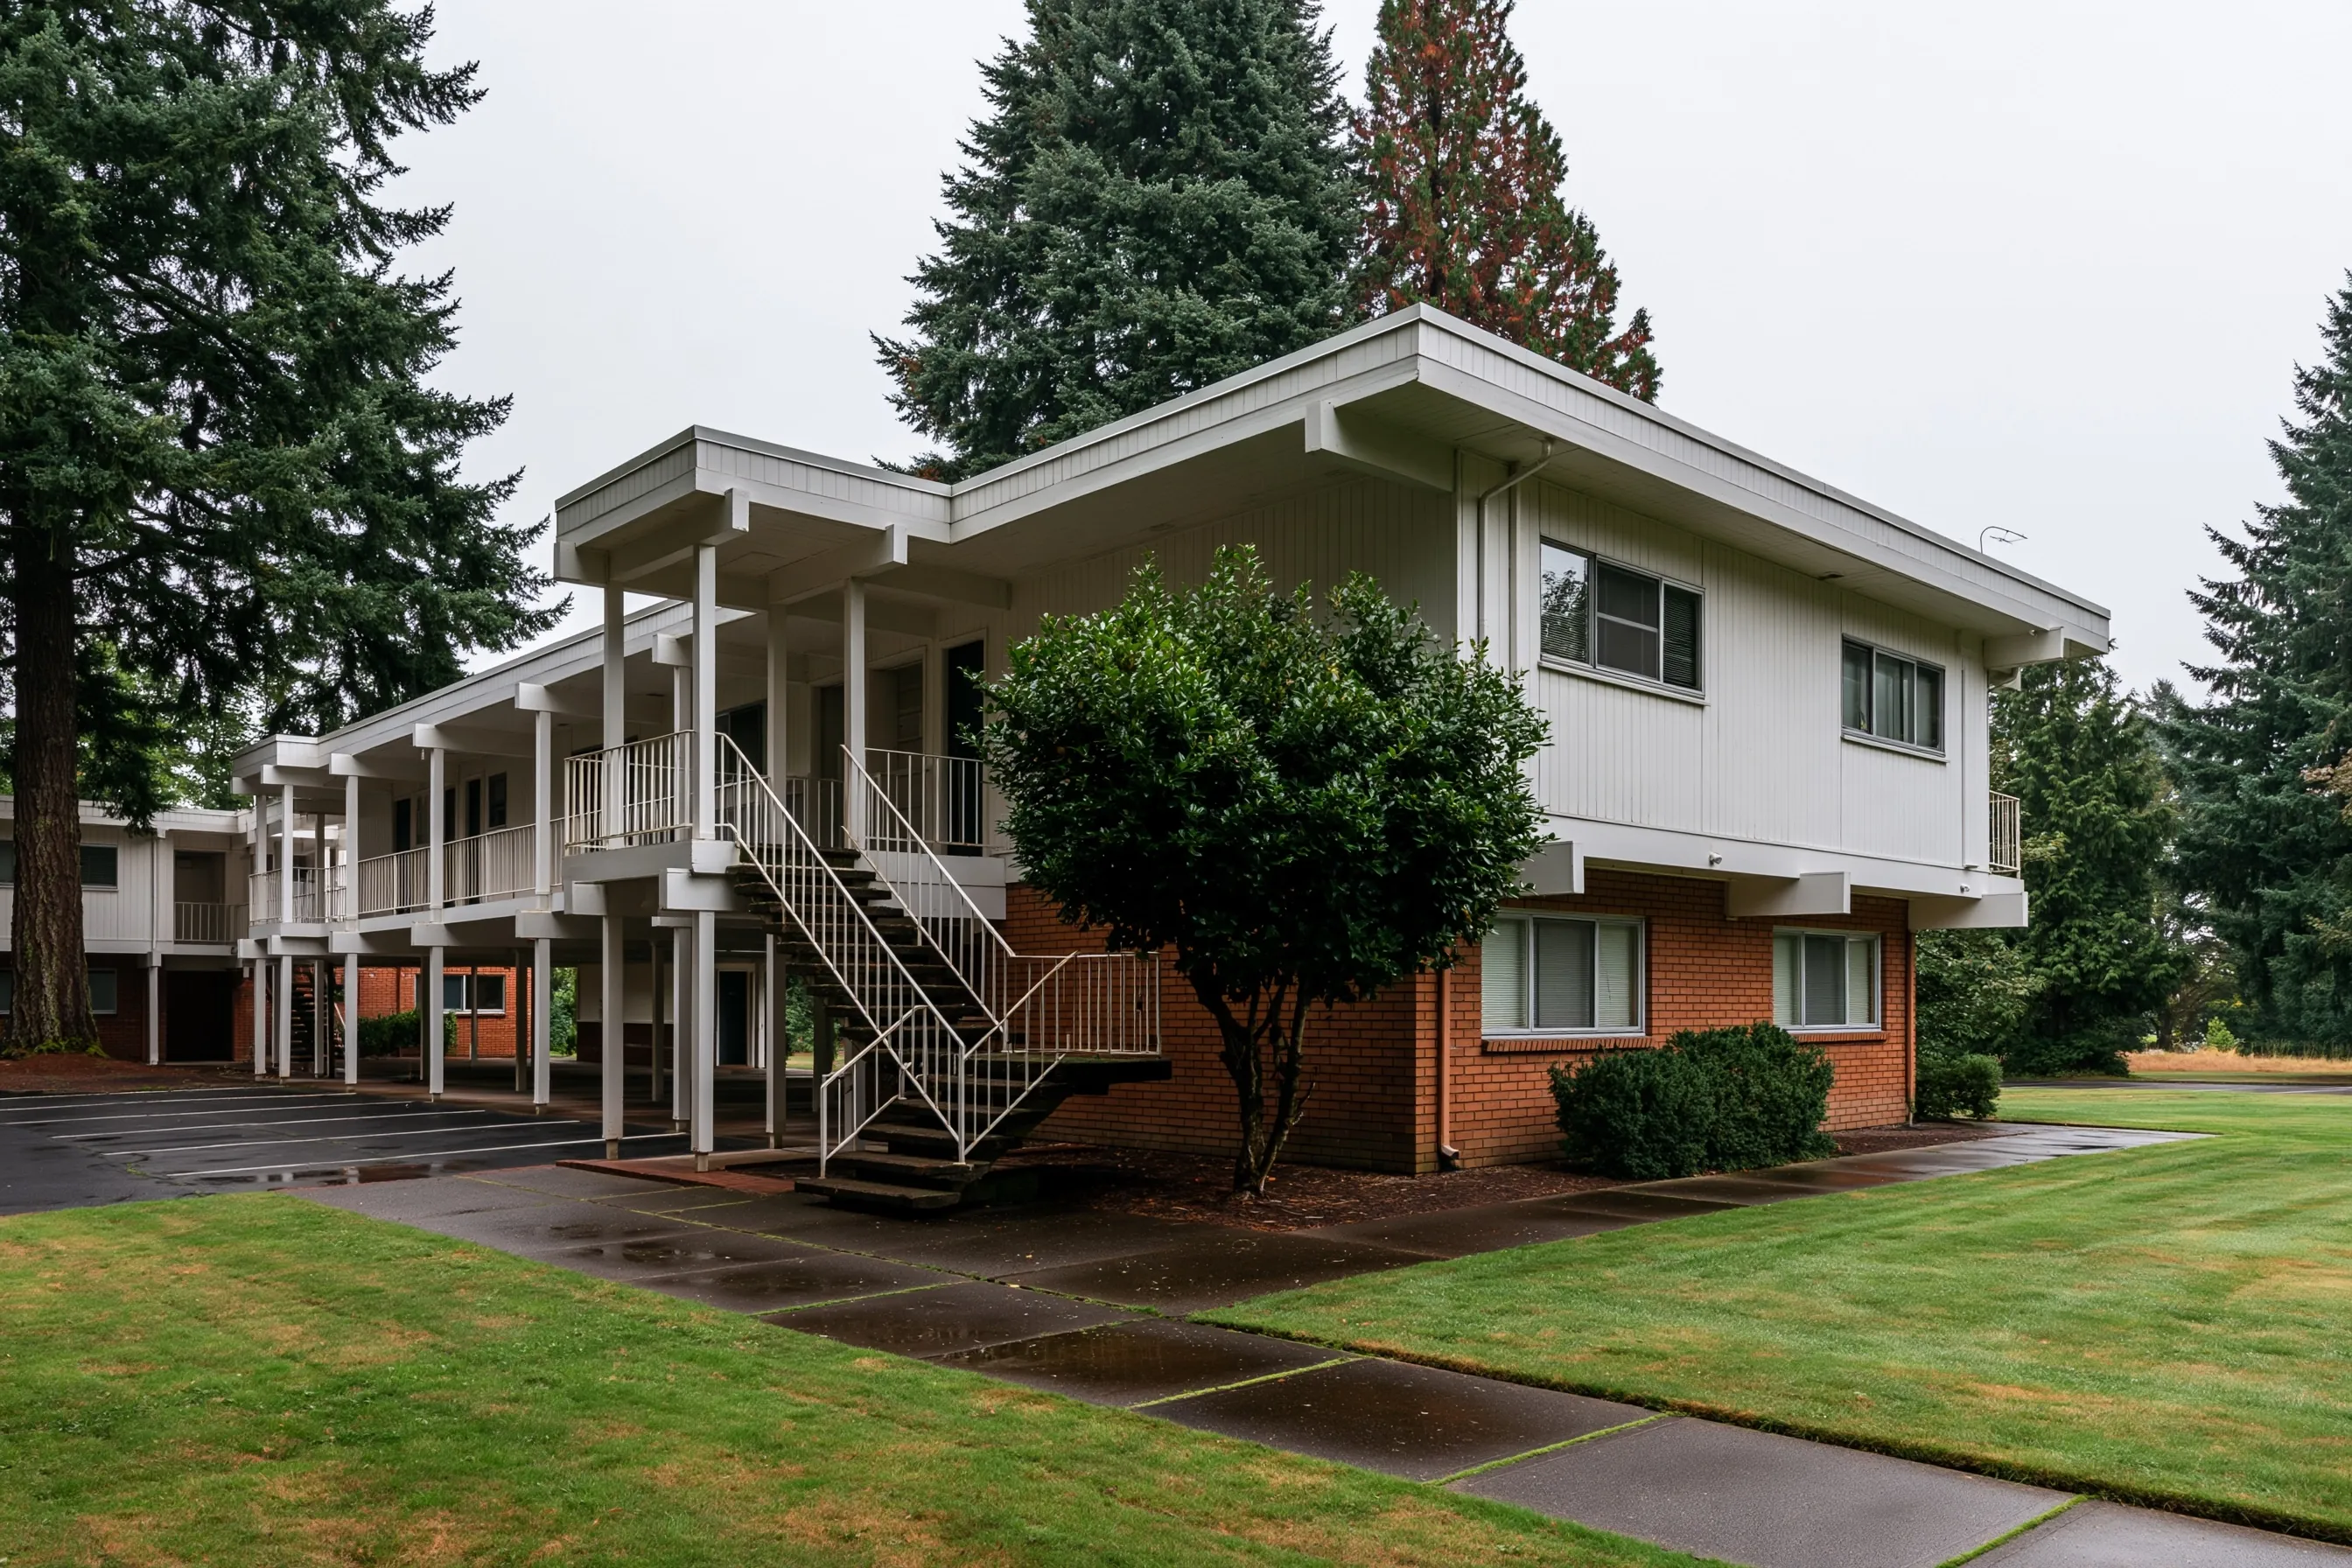
Two-story 1960s garden apartment building with open walkways and stairs, white siding over a brick base, firs and a wet lawn
Building
1960s two-story garden apartment building in Tacoma, 16 units with outside walkways
Original request
New siding, windows and walkway decks on the outside of the building
Testing
An accredited inspector surveys the outside of the building, about 30 samples
Found
Asbestos in the old window caulk and in the coating on the walkway decks
Clear
No asbestos in the siding, the soffits or the brick mortar
Timeline
A full day on site; the written survey follows within a week
Estimated survey cost
$2,900

Scope of work

A survey of every outside material the work will touch, the siding, soffits, window caulk and putty, deck coatings and brick mortar, about 30 samples, lab fees and a written report with quantities for the bids and the agency notice. Removal is priced separately.

Project overview

In this example, the owner of a 1960s garden apartment building in Tacoma plans new siding, windows and walkway decks, with tenants staying in their units. A rental building has no owner-occupant option, so an accredited inspector surveys every outside material the work will touch.

Two materials test positive, the old window caulk and the coating on the walkway decks. The window and deck work can now be phased so each walkway is closed for as short a time as possible.

The goal

The goal is a survey that lets the owner price and phase the outside work, with tenants told what to expect.

Process

  1. Before the visit Elevations, window counts and any older reports gathered.
  2. Visit Samples from the siding, soffits, window caulk, deck coatings and mortar.
  3. Within a week Lab results and a written survey with quantities.
  4. Then Removal bids and the agency notice, with work phased walkway by walkway.

Planning right

  • Tell tenants when their windows or walkway will be worked on, and post the survey summary.
  • Quantities in the survey set the notice and the wait, so measure carefully.
  • Window caulk is easy to forget. It is sampled at several windows, not just one.
  • Keep the survey on file for later work inside the units.

Get a free quoteMore about multifamily and commercial abatement

Request a free asbestos removal quote

Tell us which material is the concern, what you plan to do, whether you live in the building or rent it out, and the address. We'll get back to you soon with an estimate or any questions we have. Estimates are free and there's no obligation.

Call (253) 322-1760

Call (253) 322-1760